
Concrete Posts! If posts, just concrete, please! Not only is such a post robust and long-lasting, but it’s also rather simple to install. You can install concrete pillars in your garden yourself if you’re a devoted do-it-yourselfer. On the other hand, you may easily locate a construction business that will install such a post if you don’t feel particularly confident doing it yourself.
Why is selecting concrete posts worthwhile?
Wooden posts are a competitor for concrete posts. But for posts, concrete is unquestionably a superior material. This is the reason why:
For its strength and durability, concrete is well known. Wood requires more upkeep than concrete. It is certainly possible to paint concrete using specialized concrete paint, but doing so is not required for a concrete fence to operate as intended.
Unlike wood, which normally rots, concrete does not.
Strong wind gusts are more likely to be withstood by concrete.
Concrete components don’t need to be frequently maintained.
Concrete slotted posts fit into a hole that has already been dug and don’t require any particular fastening.
Replacing slip-in concrete posts is simple.
Posts made of concrete. Three varieties of concrete posts
These concrete posts are available for purchase:
Posts at corners
Concrete panels are joined together by intermediate posts. One panel on top of the other is arranged.
End posts are what give a concrete fence its final touch. They can only hold one concrete panel at a time.
Concrete pillars
Barbed wire fences can also be constructed with concrete posts.
Step-by-step installation of concrete posts
First, dig a hole in the dirt.
Digging a sufficient hole to place the concrete post into is the first stage in this process. Naturally, there must be a matching number of holes to concrete posts—not just one. A gravel slab or other material that you plan to install between the concrete posts should be used to measure the distances between them. Excavate the pit to a 1.8288-meter depth.
Crucial! Remember that approximately 0.696 m will be underground if you use slabs with a height of 2.4384 m.
Step 2: Insert the post into the hole you dug.
Verify the post’s stability after inserting it into the hole. Evenness of the ground beneath the post is crucial.
Step 3: Pour concrete into the holes.
Fill the holes with concrete once the concrete posts have been inserted. Make sure the slabs that will eventually be between the posts fit precisely with the posts in the holes before proceeding. Each hole should be filled with approximately 40 kg of quick-setting concrete mix. Wait for the concrete to solidify thoroughly after adding some water to the mixture. Holding or supporting the posts while the concrete cures is a smart idea. Just before beginning the entire process of pouring the holes, you can also combine the dry mix with water.
Step 4: Give it a rest for the night
Before beginning to install the concrete panels in between the posts, wait one whole night.
Place the concrete panels in-between the fence posts in step five.
Enjoy your new fence by sandwiching the new fence panels between the posts!
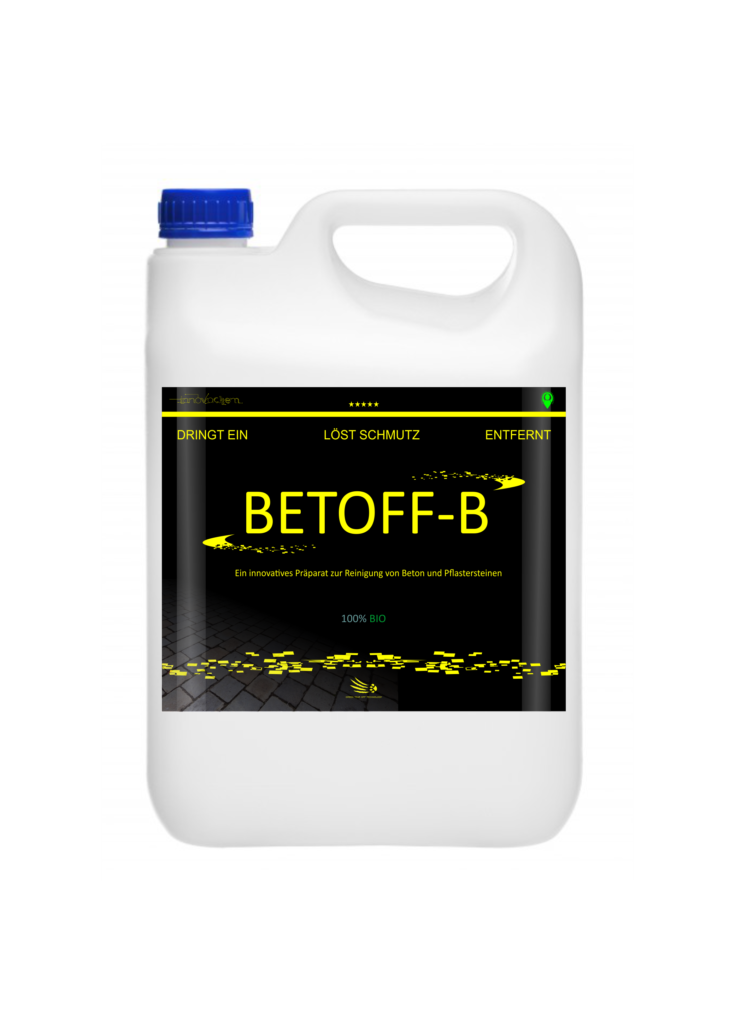
How to clean concrete?
To thoroughly remove stubborn dirt from concrete, especially concrete posts, use BETOFF-B liquid. If there are stains from dog or cat urine on the posts, use BETOFF-UR liquid.
Check out our other articles as well:
- Planters made of concrete
- curbs made of concrete. varieties of curbs made of concrete
- Septic tank made of concrete
- Concrete shapes
На нашем ресурсе можно найти обилие практичной информации.
Здесь собраны статьи и инструкции под любой случай.
Пользователь в состоянии отыскать и общую информацию, также углублённые материалы.
Представленный ресурс поможет профессионалам в их деятельности.
https://tltrock.ru/material/2026-05-27-krossovki-dolceandgabbana-v-stritstayl-obrazakh-s-chem-nosit.html
Более того здесь постоянно добавляются новые обновления.
Советуем внимательно ознакомиться с собранную здесь подборку.
В итоге, наш портал служит полезным хранилищем знаний.
Ответственная игра — это стратегия к казино, основанный на самоограничении и осознании последствий.
Эта концепция подразумевает осознанное лимитирование времени и денег на игру.
Любой участник обязан заранее определять лимиты потерь и неукоснительно их соблюдать.
https://parket-danichgroup.ru/construct/1423-assortiment-slotov-v-randx-casino-novinki-ot-vedushchikh-provayderov/
Ответственная игра — это комплекс принципов, ориентированных на защиту эмоционального и материального равновесия участника.
Ключевая мысль состоит в том, что процесс должна восприниматься только как развлечение, а не как способ заработка.
Пользователю следует предварительно устанавливать ограничения по длительности и деньгам и строго их придерживаться.
https://nanmed.ru/read/3921-kizlyarskiy-magazin-otmontiroval-provokativnyy-banner-o-mnogozhenstve/
Необходимо научиться замечать первые симптомы проблемного поведения, такие как желание отыграться и пренебрежение обязанностями.
Операторы обязаны предлагать инструменты самоконтроля: паузы, ограничения пополнений и возможность самоисключения.
Следование данных правил даёт возможность удержать азарт в безопасных рамках, не причиняя ущерба своей психике и близким.
Responsible gambling is a collection of principles that ensure betting stays a recreational activity instead of a means of stress or loss.
It involves establishing personal boundaries on time and wagers, as well as being aware of the signs of harmful behaviour.
In essence, responsible gambling encourages informed decisions and helps users to maintain control over their gaming habits.
https://omskapteka.ru/info/456-bezopasnye-platezhi-i-vyvod-sredstv-v-rich-casino-podrobnoe-obyasnenie.htm
Ответственная игра — это принцип к игровым развлечениям, основанный на контроле и осознании рисков.
Она подразумевает осознанное лимитирование времени и бюджета на процесс.
Любой участник должен заранее устанавливать пределы потерь и строго их соблюдать.
https://vivatpersonal.ru/detail/2026-06-18-sergey-tsekov-o-krymskikh-namereniyakh-ukrainskogo-rezhima-zapadniki-nakhodyatsya-v-tumane.html
Prudent betting is a collection of principles that ensure gambling stays a form of entertainment rather than a means of stress or loss.
Key aspects include establishing individual boundaries on time and money spent, as well as recognising the indicators of problematic behaviour.
Ultimately, this approach promotes conscious decisions and helps users to maintain control over their gaming habits.
https://tltrock.ru/material/2026-06-22-sem-kovarnykh-priyomov-turisticheskikh-moshennikov-kak-ne-stat-zhertvoy.html
Для преподавателей курсы повышения квалификации жизненно необходимы, поскольку такое обучение способствуют внедрять актуальные подходы.
В результате подобным занятиям специалисты могут адаптироваться к меняющимся требованиям учебного процесса.
В итоге существенно возрастает качество педагогической работы, что непосредственно сказывается на учениках и их успеваемость.
https://tlt.volga.news/767834/article/professionalnaya-perepodgotovka-trenerov-osnovnye-aspekty-i-vozmozhnosti.html
Ответственная игра — это подход к игровым развлечениям, основанный на контроле и осознании последствий.
Она предполагает добровольное ограничение продолжительности и денег на игру.
Каждый участник должен предварительно определять лимиты потерь и неукоснительно их соблюдать.
https://n3.vladtoday.ru/XwTGO01fnZZY/
Модели бренда — это удачный микс неповторимой элегантности и новейших веяний.
Главной особенностью подобных кроссовок считается выразительный дизайн с использованием премиальных материалов и фирменной детализации.
Эти кроссовки великолепно смотрятся для ежедневной жизни, внося в стиль долю гламура.
https://ekbtoday.ru/news/2026-04-27-etika-i-estetika-v-sovremennom-mire-reaktsiya-dolce-and-gabbana-na-dvizhenie-za-inklyuzivnost-i-rasovoe-ravenstvo/
Разумное отношение к азарту — это стратегия к игровым развлечениям, базирующийся на самоограничении и осознании рисков.
Она включает осознанное ограничение времени и денег на процесс.
Каждый игрок обязан предварительно устанавливать пределы потерь и неукоснительно их придерживаться.
https://b1.chenews.ru/FXkU9gwvkjkI/
Кеды бренда — это удачный симбиоз изысканной элегантности и современных веяний.
Главной особенностью данных пар является выразительный дизайн с использованием качественных сырья и узнаваемой фурнитуры.
Такие модели замечательно подходят для городской жизни, добавляя в стиль штрих гламура.
https://online-festival.ru/detail/3428-eksklyuzivnye-kollaboratsii-dolce-gabbana-s-khudozhnikami-i-dizaynerami-v-mire-obuvi.html
Кеды бренда — это идеальный симбиоз неповторимой классики и современных веяний.
Главной чертой этих моделей является выразительный внешний вид с сочетанием премиальных материалов и узнаваемой фурнитуры.
Эти кроссовки замечательно сочетаются для городской носки, добавляя в стиль долю шика.
https://ekbtoday.ru/news/2026-04-27-etika-i-estetika-v-sovremennom-mire-reaktsiya-dolce-and-gabbana-na-dvizhenie-za-inklyuzivnost-i-rasovoe-ravenstvo/
הפלטפורמה hasfaniyot.net מספק מבחר רחב של מידע המותאמים למשתמשים המקומי.
בפלטפורמה תוכל לגלות תכנים ייחודיים בנושא למבוגרים באיכות גבוהה.
השירות מאפשר אפשרות פשוטה לחומרים אלה באמצעות הקפדה על פרטיות המשתמש.
https://hasfaniyot.net/
Слоты — являются самые популярные развлечения в онлайн-казино.
У них особенность — несложные правила, яркая визуализация и разнообразие бонусных возможностей.
Пользователи могут подбирать слоты по тематике, количеству барабанов и размеру отдачи.
https://healthblog.metamoda.ru/OlwqSHjDh2t3/
Онлайн-слоты — являются одни из самых востребованные игры в онлайн-казино.
https://techguru.podium24.ru/M11sK5uXLYHo/
Слоты — являются самые востребованные игры в онлайн-казино.
https://eurasia-log.ru/blog/2026-07-10-polnyy-obzor-igrovykh-avtomatov-v-randx-casino/
Здесь ресурсе вы сможете найти массу нужной материалов.
https://nanmed.ru/read/4249-ekologicheskie-initsiativy-i-ustoychivoe-razvitie-v-strategii-brenda-rick-owens/
На данном ресурсе можно почерпнуть массу ценной информации.
https://sorrybabushka.ru/interesting/569-kak-vybrat-idealnuyu-paru-krossovok-premiata-pod-vash-tip-vneshnosti.html
Ответственная игра — это алгоритм, направленный на сохранение самоконтроля в отношении своими решениями и снижение зависимости.
https://e-transavto.ru/read/snizhenie-covid-19-v-voronezhskoy-oblasti-tsifry-tendentsii-vyvody-285/